

How to Fix an AC That’s Not Cooling
Before calling for service, check your thermostat, air filter, breaker, and outdoor unit. These simple steps fix most AC issues and can restore cooling quickly.
✓ Learn safe troubleshooting steps
✓ Know when to call a professional
Repairing Air Conditioning Unit: A Complete Troubleshooting Guide
Repairing Air Conditioning Unit: A Complete Troubleshooting Guide
When summer temperatures scorch past 100°F—as they did during the record-breaking heatwaves of the last two years—a broken cooling unit becomes more than an inconvenience. It becomes a serious safety concern. HVAC data show AC breakdowns spike 30-50% during peak summer, and struggling systems can waste up to 40% more energy when struggling to keep up.
So what should you examine initially when your AC unit fails to drop the temperature? Start with the basic checks: your thermostat, air filters, and the outdoor condenser unit. These easy DIY steps resolve the vast majority of no-cooling complaints according to HVAC service data.
An standard HVAC setup consists of four critical parts: an evaporator coil that absorbs heat from indoor air, an condensing unit that releases that heat outside, ductwork that distributes cool air to every room, and a control system that manages the entire system. Many frequent AC issues—low air pressure or warm air blowing from vents—can be safely checked and sometimes fixed before booking a professional service call.
First things to check immediately:
- Thermostat settings (set to “Cool,” temperature below current room temperature)
- Circuit breaker or blown fuse at the electrical panel
- Air filter condition (replace if gray or dusty)
- Outdoor unit for debris or other obstructions
Serious issues involving refrigerant levels or complex electrical problems should always be left to licensed HVAC professionals.
Safety First Before Any AC Repair
Air conditioners involve 120-240V electricity, fan blades spinning at 800-1200 RPM, and pressurized refrigerant at 300-400 psi. Before touching anything, follow these safety steps:
- Switch off power at the thermostat first
- Turn off the outdoor disconnect box (often a pull-out fuse block)
- Shut off the dedicated AC breaker at the main panel
- Wait 5-10 minutes for capacitors to discharge before opening any panels
- Wear safety glasses and cut-resistant gloves when working near sheet metal or coils
- Never attempt DIY work on refrigerant lines—this requires EPA Section 608 certification and carries risks of frostbite and compressor destruction
- If you smell burning plastic, see sparks, smoke, or melted insulation, shut everything off immediately and call a professional
Quick Checks When Your AC Is Not Cooling
When your ac system runs but your home stays hot, work through this checklist:
Thermostat verification:
- Confirm it’s set to “Cool” mode, not “Heat” or “Fan Only”
- Set the target temperature 3-5°F below the current room temperature
- Switch the fan setting to “Auto” rather than “On”
Electrical panel inspection:
- Locate breakers labeled “AC,” “Condensing Unit,” or “Air Handler”
- Reset any tripped breaker by switching it fully off, then back on
- Check for a blown fuse in the disconnect box near the outside unit
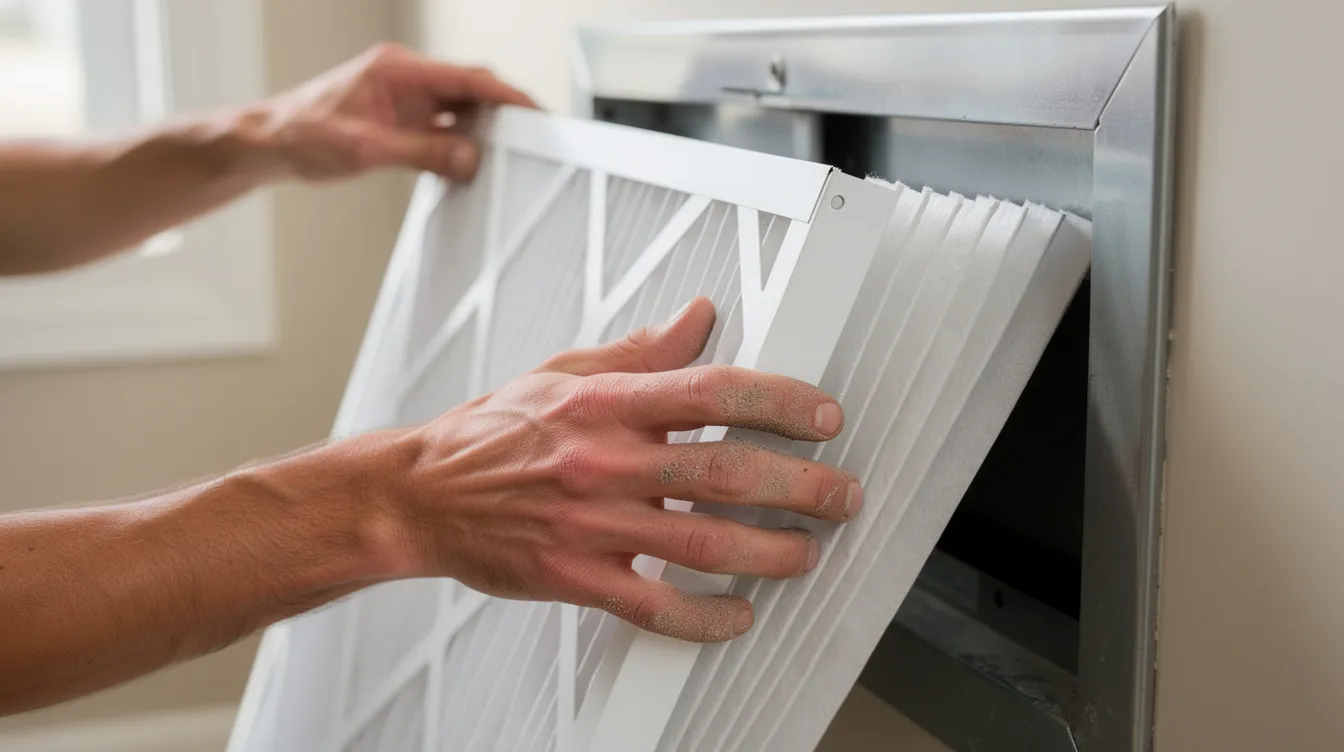
Filter and vent check:
- Pull out the air filter and inspect for dirt or clogging
- Replace any dirty filter that looks gray or has been in place longer than 60-90 days
- Confirm all supply vents and return grilles are open and unblocked by furniture
Outdoor unit assessment:
- Listen for the fan spinning or a humming sound
- Complete silence may indicate a power issue or failed contactor
- Clear any leaves, grass clippings, or debris within 2 feet of the unit
If these checks don’t restore cooling within 15-30 minutes, deeper troubleshooting is needed, and you may want to schedule an HVAC service visit online to have a professional inspect the system.
Common AC Problems and DIY Troubleshooting
Most homeowners encounter the same repeating issues: no cooling, weak cooling, uneven rooms, and short cycling. Understanding these symptoms helps you identify what’s fixable at home versus what requires ac repair from a professional.
Outdoor Condenser Will Not Turn On
The outdoor unit must run for your system to produce cold air. If it’s silent, check these items first:
- Verify the thermostat isn’t set too high or accidentally switched to “Heat”
- Ensure the outdoor disconnect switch is fully inserted
- Check for a blown fuse in the disconnect box
- Reset the dedicated breaker at your electrical panel
A humming sound without fan movement often indicates a seized fan motor or bad capacitor—both require professional repair due to shock risks. If the condenser doesn’t start after power checks and a 5-10 minute wait, schedule an HVAC service visit.
Uneven Cooling in Different Rooms
When your living room stays at 80°F while bedrooms reach the setpoint, the AC appears to be working but airflow is compromised.
- Confirm each supply vent is fully open and unobstructed
- Move furniture and curtains at least 12 inches away from registers
- Check accessible ductwork in basements or attics for crushed or disconnected sections
- Open interior doors to prevent pressure imbalances
Persistent hot spots despite these fixes may require professional duct balancing or sealing, especially in homes built before 1990 where ducts can leak 20-40% of conditioned air.
AC Runs Constantly but Cools Poorly
If your system runs for hours but the temperature barely drops, check these DIY-accessible causes:
- Replace the clogged filter restricting airflow
- Clean visible debris from the condenser coils
- Confirm windows and exterior doors are closed
- Minimize heat sources like ovens during peak afternoon sun
- Clear matted grass clippings or cottonwood fluff from outdoor unit fins
Older undersized systems (like a 2-ton unit in a home that’s been expanded) may simply lack the cooling capacity for your space and eventually need a new HVAC installation. If cleaning doesn’t help after a few hours, suspect low refrigerant or mechanical issues requiring a technician.
Blowing Air but No Cooling at All
When the blower motor and outdoor fan run but supply vents blow room-temperature ambient air instead of cool air, something has failed in the cooling cycle.
- Verify the thermostat isn’t set to “Fan Only”
- Check for visible ice on refrigerant lines or near the evaporator coil
- If frozen, switch to “Off” while leaving the fan running to thaw for 1-2 hours
Causes like a refrigerant leak, failed compressor, or stuck reversing valve in a heat pump require professional diagnosis. If air never gets cool after basic checks and 30-60 minutes of operation, stop running the system to prevent further damage.
Short Cycling: Unit Turns On and Off Frequently
Short cycling—when your unit starts and stops every few minutes—prevents proper cooling and humidity removal while inflating energy bills by 20-30%.
- Maintain 2-3 feet of clearance on all sides of the outdoor unit
- Ensure the thermostat isn’t in direct sunlight or near heat sources
- Clean dirty coils that may trigger safety shutoffs
- Verify the system isn’t oversized for your space
Repeated short cycling with clicking noises or dimming lights signals capacitor or contactor issues requiring professional attention.
Thermostat Issues and Simple Fixes
The thermostat acts as the control panel for your entire system. When it fails, nothing works properly.
- Replace batteries in battery-powered models
- Reseat the front cover securely
- Clean dust from older mechanical thermostats with a soft brush
- Ensure mercury-switch thermostats are perfectly level
- Update firmware on smart thermostats after power outages
A blank display even with fresh batteries indicates loose low-voltage wiring or a failed relay—call a technician for these electrical problems.
Airflow and Ventilation Checks
Restricted airflow mimics expensive failures but often has simple solutions. Consistent airflow prevents frozen coils and overheated components.
- Vacuum supply and return grilles to remove dust and pet hair
- Check accessible duct trunk dampers in basements and mark their positions
- Inspect for crushed or kinked flexible duct runs
Full duct cleaning, sealing, or redesign requires certified professionals with proper equipment—this isn’t DIY-friendly work.
Cleaning Filters, Coils, and Drain Lines
Dust and moisture constantly attack AC efficiency. These three maintenance tasks handle the most common buildup issues.
Replacing or Upgrading the Air Filter
Filters typically live at the return grille, inside the blower compartment, or in a slot by the furnace or air handler. Read the size printed on the frame (e.g., 16x25x1) when buying replacements. Standard 1-inch filters need replacement every 30-60 days during heavy use. Install with airflow arrows pointing toward the blower.
Cleaning Evaporator Coils (Indoor Unit)
The evaporator coil sits above the furnace or inside the air handler behind an access panel. After shutting off power:
- Brush off light dust with a soft brush
- Apply no-rinse coil cleaner approved for indoor use
- Clean the drain pan beneath the coil
- Check for standing water or mold growth
Heavily iced or damaged coils require professional cleaning.
Cleaning Condenser Coils (Outdoor Unit)
Dirt, grass clippings, and pollen reduce the unit’s heat rejection ability.
- Remove the top grille carefully without straining wiring
- Spray from inside out with a garden hose on gentle setting
- Use a fin comb to straighten bent fins
- Clear weeds and debris from around the cabinet
Clearing the Condensate Drain Line
The condensate drain line removes moisture and often clogs with algae, causing water leaks. Locate the PVC drain line near the air handler, then:
- Use a shop vac at the outside termination to pull out obstructions
- Pour diluted vinegar into the cleanout quarterly to prevent algae
- Check that the drain pan isn’t rusted through
Electrical and Thermostat Checks
Limit DIY electrical work to breakers, fuses, and thermostat settings. Anything beyond requires licensed technicians.
- Visually inspect the service disconnect to ensure it’s fully inserted
- Check for repeated breaker trips on the AC circuit (signals deeper issues)
- A buzzing outdoor unit with no fan movement indicates a failed capacitor—don’t attempt replacement yourself
Low-voltage thermostat wiring uses standardized color codes (R for power, Y for compressor, G for fan, C for common), but rewiring should be left to professionals.
When to Call a Professional vs. DIY
DIY steps solve many airflow and control issues, but some problems require receiving power from trained hands:
- Refrigerant leak or low refrigerant levels
- Compressor issues or failure
- Severe electrical problems or faulty wiring
- Repeated breaker trips
- Persistent short cycling
- Strange noises from the compressor or blower motor
Handling refrigerant without EPA certification is illegal and risks destroying the compressor with improper charging. Units installed before 2010 may use phased-out R-22 refrigerant, making air conditioner repair vs. replacement decisions more complex.
Schedule annual professional maintenance visits in early spring. Document symptoms, error codes, and times of day before the technician arrives to speed diagnosis.
Preventive Maintenance and Extending Unit Lifespan
Consistent routine maintenance can add 3-5 years to your AC unit’s typical 12-15 year lifespan while maintaining air quality and efficiency.
Seasonal checklist:
- Spring: Clean coils, flush drain line, inspect entire system
- Monthly: Replace filter, check outdoor unit clearance
- Ongoing: Adjust thermostat to avoid extreme setpoints
Reduce system strain by improving weatherstripping, adding attic insulation, and using window shading. Keep records of all repairs and regular maintenance to plan for replacement and support warranty claims.
Combining DIY care with timely professional service keeps your air conditioning unit reliable through future hot summers. Start with the quick checks today—you might solve the problem in 15 minutes and save yourself a major breakdowns service call.