When your AC quits on a 105° Dallas afternoon, you don’t have time to scroll through generic advice. You require the specific technicians, especially for the North Texas climate, like HVAC Service Pro.
We do HVAC troubleshooting in DFW by powering the system at the breaker and switches, adjusting thermostat settings, cleaning the air filter, and inspecting the outdoor unit for debris.
We resolve over 80% of Texas summer emergencies through preventive checks like filter and drain maintenance. You can safely handle at least half of them yourself with basic tools.
Key Takeaways
|
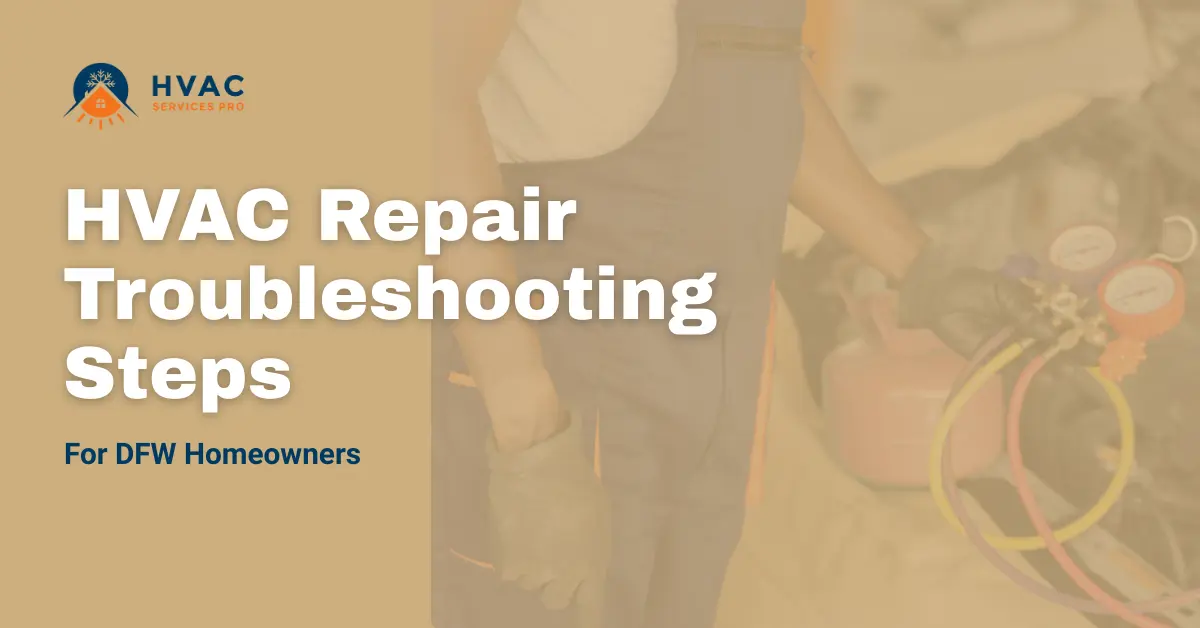
HVAC Repair Troubleshooting Steps DFW
HVAC repair troubleshooting Dallas Fort Worth isn’t hard. You just need to know what to do & how to do it. Before you feel overwhelmed, try those-
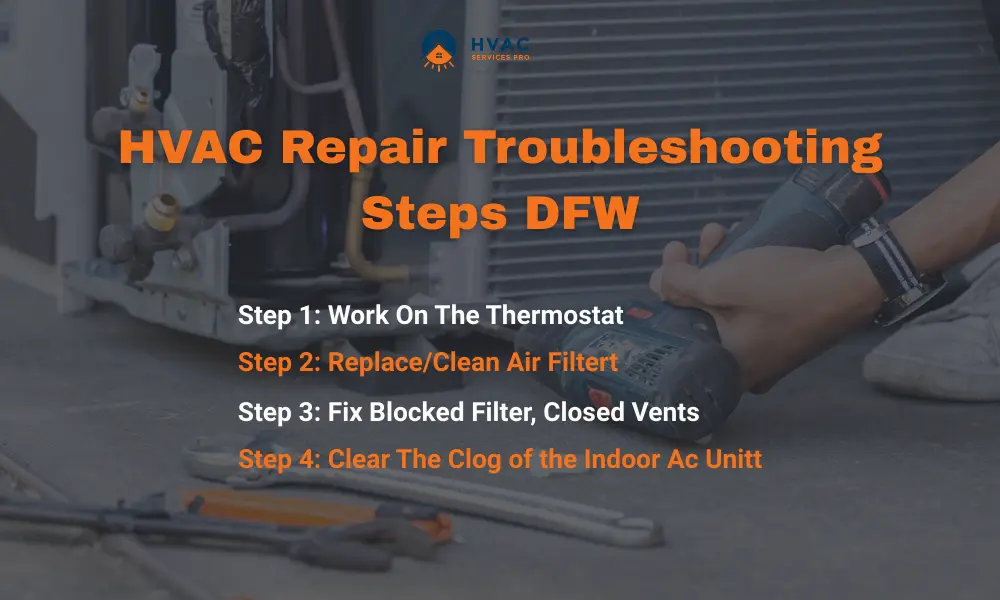
Repair Sequence 1: Work On The Thermostat
Start at the thermostat and work backward through the electrical pathway: check for dead batteries, then a tripped breaker, and finally the outdoor disconnect switch.
Nine times out of ten in our HVAC service calls in Plano and Frisco, a “dead” system is just a communication failure.
First, replace your thermostat batteries, even if the display looks fine. Next, at your electrical panel, look for a breaker that’s slightly out of alignment with the others. Flip it fully OFF, then back ON.
- If the breaker switch immediately trips again, stop. Do not attempt a second reset. Tripping again indicates a serious electrical fault requiring a professional.
- If the breaker holds, check the outdoor shut-off switch. Contractors or kids might accidentally turn it off.
- If power is still missing, the issue could be a blown fuse in the disconnect box or a faulty low-voltage transformer. This is where we recommend calling us at HVAC Service Pro for a first visit diagnostic process to pinpoint the exact electrical fault.
Last week in Arlington, a homeowner was convinced their compressor had failed. Our technician found a chewed low-voltage wire from the thermostat; a rodent had severed the connection. A simple wire repair restored cooling.
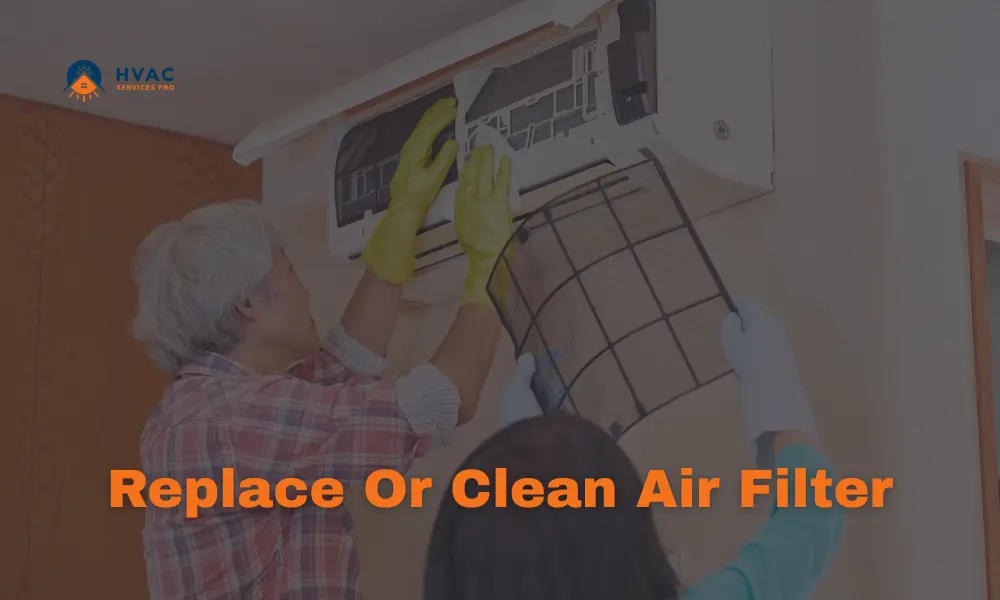
Repair Sequence 2: Replace/Clean Air Filter
I recommend following this priority order:
1) Replace your air filter.
2) Clear the condensate drain line.
3) Inspect the outdoor capacitor.
A dirty filter is the #1 cause of an AC running, but the air is warm in DFW homes. Restricted airflow causes the evaporator coil to drop below freezing. This forms a block of ice that stops cooling entirely.
- If you see ice on the copper lines, turn the system to FAN ONLY to thaw it, then replace the filter. I recommend checking your filter every 30 days during our peak pollen season. Those are the most helpful steps in the HVAC troubleshooting checklist for DFW homeowners.
- At this point, please take a moment to address the clogged condensate drain line. Our hard water and humidity create a slimy algae buildup that blocks the PVC drain pipe.
- Locate where the pipe terminates (often by a foundation wall). Use a wet/dry vac to suction out the clog, then pour a cup of white vinegar to prevent recurrence. If the drain line’s safety float switch is tripped, clearing the clog will reset it.
- Finally, listen to your outdoor unit. If you hear a humming sound but the fan isn’t spinning, you likely have a faulty capacitor. This cylindrical component gives your compressor and fan motor the jolt to start.
With the power OFF, you can visually inspect it for bulging or leakage. A multimeter test can confirm failure. Replacing a capacitor is a common DIY repair. But if you’re unsure, having a professional replace the capacitor is a quick, affordable fix we handle daily.
For more to troubleshoot, we’ve created a comprehensive AC repair checklist for homeowners in DFW that walks you through every possible diagnostic step in the correct order. We use this checklist during our diagnostic visit. In addition, our service for cleaning air ducts can assist with airflow problems.
At HVAC Service Pro, through our transparent repair pricing model, we’ll give you the cost for a capacitor replacement before we start the work.


Repair Sequence 3: Fix Blocked Filter, Closed Vents, Or A Failing Blower Motor
Weak airflow typically stems from a blocked filter, closed vents, or a failing blower motor. Strange noises like rattling or squealing point to loose components or worn belts.
Start with the simple fixes.
- Keep all your supply and return vents fully open and clear of furniture or drapes. A closed vent in just one room can imbalance the entire system. If airflow is still weak at every vent, the issue may be a dirty blower wheel or a capacitor for the indoor blower motor.
- For noises, try to locate the source. A rattling sound often means a loose panel or debris in the blower compartment. A high-pitched squealing usually indicates a worn blower motor bearing or a slipping belt in older systems.
- While lubricating the motor might offer a temporary fix, persistent noise usually means a part is failing. Continuing to run a noisy system can lead to more damage and a higher repair bill.
According to ENERGY STAR, sealing leaky ductwork in your DFW home can improve system efficiency by up to 20%. If you feel uneven cooling, like some rooms are hot spots, duct leaks could be the reason.
Repair Sequence 4: Clear The Clog of the Indoor Ac Unit
Water pooling around your indoor air handler almost always means a clogged primary condensate drain line or a damaged secondary drain pan. You can usually clear the clog yourself in 20 minutes.
Here’s your repair sequence:
- First, locate the white PVC drain line where it exits your home (usually near the foundation). Use a wet/dry vac to create a seal around the pipe end and suck out the algae and mineral clog. DFW’s hard water makes this buildup particularly stubborn.
- Next, find the clean-out tee near your air handler and pour one cup of white vinegar down the line to dissolve remaining gunk and prevent future clogs.
- Finally, check the secondary emergency drain pan underneath your indoor unit for cracks or overflow.
High humidity in DFW means your AC produces condensate year-round. The mineral content in our water accelerates drain line blockages faster than in other regions.
If cleaning doesn’t stop the leak within an hour, or if you see water damage on your ceiling, you may have a cracked primary drain pan or improper AC installation. These require professional repair to prevent mold growth and structural damage.


What’s the First Thing You Should Do When Your HVAC Stops Working?
Immediately turn off the power at your thermostat, then at the outdoor disconnect switch, and finally at the circuit breaker.
I’ve seen too many homeowners check a thermostat with live 240 volts to the outdoor unit. Here’s your safety protocol:
- First, go to your thermostat and switch it to “OFF.”
- Next, locate the outdoor disconnect switch. It’s the small box on the wall next to your condenser. Pull the plug to switch OFF.
- Finally, go to your main electrical panel and switch off the breakers for both your indoor air handler and outdoor unit.
Now you can safely look, listen, and smell for obvious issues like burnt wire insulation, water pooling, or debris blocking the outdoor coil.
In our same-day AC repair calls across Fort Worth, we find that a tripped float switch from a clogged drain line is one of the most common and fixable causes of a sudden shutdown. If you find water under the air handler, the cause is almost always a clogged drain line, which you can often fix yourself.
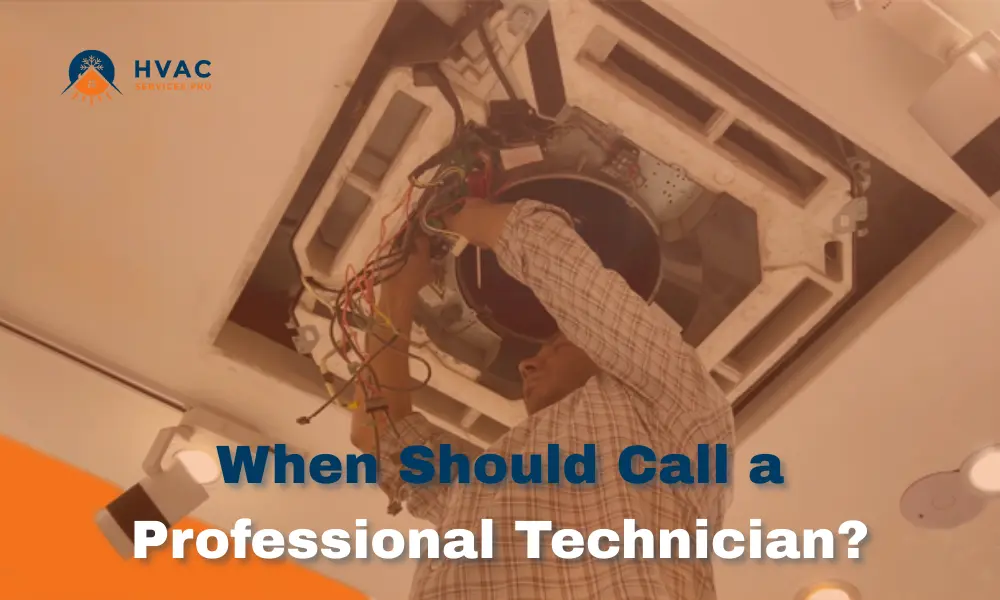
When Should You Stop DIY and Call a Professional Technician?
Immediately call a licensed professional for any refrigerant issue, gas furnace heat exchanger or gas valve problem, major electrical work, or compressor replacement.
Your safety and your system’s longevity depend on knowing this boundary. Refrigerant handling requires an EPA certification. It’s illegal and dangerous to attempt it yourself.
- If you suspect a refrigerant leak (signs include hissing sounds and ice on the large copper line), turn the system off and call us. While you wait, you can use our guide for emergency cooling tips.
- For gas furnaces in the home, never attempt to repair the heat exchanger, gas valve, or pilot light assembly. A crack in the heat exchanger can leak carbon monoxide.
- Similarly, if your electrical panel breaker trips repeatedly, you have a fault that needs a pro’s diagnostic tools.
- Compressor replacement is a major repair that requires specialized vacuum pumps and gauges.
When you call HVAC Service Pro for emergency HVAC repair in DFW, our NATE-certified technicians arrive in fully stocked trucks. We diagnose the root cause, provide a clear, upfront quote, and get your comfort restored quickly.

What Should You Do After a DIY Repair to Make Sure It Lasts?
Restore power correctly, verify the system’s cycle and temperature drop, monitor for new issues for 24 hours, and schedule a professional tune-up within 30 days to ensure your repair’s success.
When the system turns back on, follow this post-repair sequence:
- First, restore power in reverse order: main breaker, then disconnect switch, then thermostat.
- Set your thermostat 5 degrees below room temperature and listen for the outdoor unit to engage. Within 20 minutes, you should feel a 15-20° temperature drop at the vent. This confirms proper cooling capacity.
- Over the next day, monitor for new symptoms. Watch for unusual breaker trips, listen for irregular noises, and check that the condensate line drains freely.
A repair that “works” but causes new electrical trips indicates an unresolved fault. This is also the perfect time to optimize your thermostat settings. Program higher temperatures when you’re away to reduce strain on your newly repaired system.
A professional tune-up is the best insurance for your DIY repair. Our technicians at HVAC Service Pro inspect component health, check refrigerant charge, and ensure electrical safety.
Frequently Asked Questions
My smart thermostat shows error codes like “E1” or “LO.” What do these mean, and should I still check the basics?
We’ve seen “LO” (low battery) codes persist after battery replacement because the real issue was a tripped breaker. Manufacturer error codes are helpful but not infallible.
I just had a capacitor replaced. Could something have caused it to fail that will kill the new one too?
Yes. A failing compressor or blower motor that’s drawing excessive “locked rotor” amps can destroy a new capacitor within weeks. Also, chronic undervoltage from your home’s electrical supply can significantly shorten capacitor life.
After a repair, there’s a new whistling sound from the vents. Should I be concerned?
A new whistle often indicates a change in airflow velocity or pressure. This could be a simple fix, like an air filter not seated properly in its rack. Alternatively, the repair may have improved airflow, exposing a pre-existing ductwork leak at a joint.
Will attempting DIY HVAC repair void my manufacturer’s warranty?
Licensed professionals must perform repairs to comply with most manufacturer warranties. DIY work, especially involving the sealed refrigerant circuit, often voids the warranty.
Final Thoughts
To repair and troubleshoot your HVAC system, start with safety, and follow the diagnostic flow from thermostat to capacitor. You now have the exact checklist we use on thousands of service calls across Dallas-Fort Worth. Most homeowners can handle the first three steps: checking the thermostat, replacing the filter, and clearing the drain line.
When you need a trusted technician, HVAC Service Pro is ready to help. Our team provides same-day HVAC repair with honest, upfront pricing. If you require a professional diagnosis, contact our HVAC repair service today and let us restore your home’s comfort.